There are few frustrations in metalworking, mechanics, or DIY projects quite like socket screws that refuses to budge. Whether the internal hex (Allen) head is rounded out—“stripped”—or the screw’s threads are chemically welded in place—“seized”—the immediate impulse is often one of brute force. However, the key to success lies in a calm, methodical approach that prioritizes the preservation of the workpiece.
Before you begin, it’s helpful to know what you’re up against.
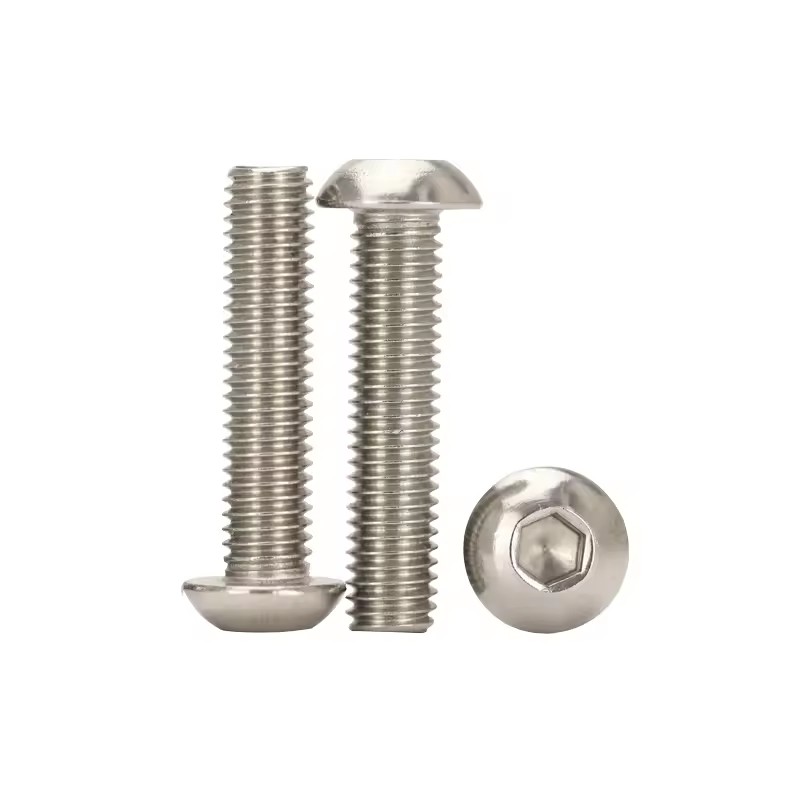
A Stripped Socket Head is almost always caused by using a worn or incorrect size Allen key, applying torque at an angle, or over-tightening with an impact driver, which can “cam out” and destroy the soft edges of the socket.
A Seized Screw is typically the result of corrosion (rust), galling (where two similar metals fuse under pressure and heat), or the presence of thread-locking compound (e.g., Loctite). Heat, moisture, and time are the usual culprits.
Often, you’ll be dealing with both problems simultaneously: a seized screw that you’ve subsequently stripped in a failed removal attempt.
Do not skip these initial steps. They can make the difference between a simple fix and a catastrophic failure.
Clean the Area: Use a brush and a blast of compressed air to remove all debris, dirt, and fluid from the screw head. A clean socket allows for maximum tool engagement.
Apply Penetrating Oil: For a seized screw, this is your first and most important weapon. Choose a quality penetrating oil like PB Blaster, Kroil, or Liquid Wrench. Apply it liberally to the base of the screw head and the exposed thread on the other side if possible. Let it soak for at least 15-30 minutes. Tapping the screw head gently with a hammer can create micro-vibrations that help the oil wick into the threads. Reapply and wait longer for severe cases.
Select the Right Tool: Ensure you are using a high-quality, unworn hex key or bit. Ball-end drivers are convenient but are prone to camming out and stripping; for a tight or seized screw, always use the straight-end side of the tool first for maximum engagement.
If the screw is stripped but not severely seized, these methods might work.
The Rubber Band Trick: Place a wide, thick rubber band over the stripped socket. Press your correctly sized Allen key into the socket, using the rubber band to fill the gaps and provide extra grip. Apply steady, firm pressure to turn. This works best for mildly stripped screws with low torque.
Hammer-in Your Allen Key: Sometimes, a slightly oversized Torx (star) bit or a standard Allen key can be tapped firmly into the stripped socket. The sharp, hard edges of the tool can bite into the softened metal of the screw, creating a new grip. Use a hammer to seat the tool securely, then turn it slowly with a wrench for leverage.
When gentle persuasion fails, it’s time to bring in the tools designed for this exact job: screw extractors.
Left-Handed Drill Bits and Extractors: This is the most reliable mechanical method. The process is twofold:
Drill a Pilot Hole: Using a left-handed (reverse-fluted) drill bit that is smaller than the screw’s socket, carefully drill a pilot hole into the center of the screw. Often, the heat and vibration from drilling, combined with the left-handed torque, are enough to break the screw free before you even need the extractor.
Tap in the Extractor: If the screw remains stuck, switch to the corresponding screw extractor. These are hardened steel tools with reverse-spiraled, fluted edges. Tap the extractor firmly into the pilot hole you just drilled. Then, attach a tap wrench or locking pliers to the extractor and turn it counter-clockwise. The design ensures that the downward pressure and counter-clockwise force lock the extractor into the screw, applying turning force directly to it.
Pro-Tip for Drilling: Use a center punch to make a small dimple in the exact center of the screw before you start drilling. This prevents the drill bit from “walking” and damaging the surrounding workpiece.
For screws seized by thread-locker or corrosion, heat is your most powerful ally. It expands the metal, breaks down thread-locking compounds (which typically release around 500°F / 260°C), and breaks the bonds of rust.
Method: Use a small, focused propane or MAPP gas torch. Carefully heat the head of the screw and the surrounding metal area. Avoid heating the screw itself to a glowing red hot, as this can alter the metal’s properties. The goal is to get it very hot, very quickly.
Safety First: Be acutely aware of your surroundings. Remove any flammable materials, and be cautious of nearby fuel lines, wiring, or hydraulic hoses. Wear heavy-duty gloves and safety glasses.
The Process: Heat the screw for 30-60 seconds, then try to turn it using one of the methods above (often the hammered-in Torx bit works well now). The expansion and contraction as it cools can also help break the seizure. You may need to repeat the cycle of heat, penetrating oil (applied after the heat has slightly subsided), and turning force.
If all else fails, the final option is to carefully drill out the entire screw. This is a destructive process for the screw, but with care, the workpiece can be saved.
Start with a very small, sharp, left-handed drill bit to create a precise pilot hole.
Gradually increase the drill bit size until you reach the inner diameter of the screw’s threads.
The goal is to remove the core of the screw, leaving the threaded shell intact. Once the core is gone, you can often pick the remaining thread coils out of the hole with a pick or dental tool.
After removal, you will need to clean the threads with a tap to restore the hole.
Removing a stubborn socket screw is a test of patience, not strength. The flowchart for success is always the same: Prepare, Persuade, Extract, Apply Heat, and finally, Drill. Rushing to a more aggressive method often worsens the problem. By investing time in preparation, using the correct tools in the correct order, and letting penetrating oil and heat do their work, you can conquer even the most recalcitrant screw and walk away with your workpiece—and your sanity—fully intact.
SEND US AN EMAIL TO GET IN TOUCH.
Product
Quick Links
contact Us
Industrial Concentration Area, Xingtai Town, Jiangyan Dist. Taizhou, Jiangsu, China
+86-18115985557
+86-18351173331
adam@fyhandware.com
ANDY@fyhandware.com


 English
 中文简体
中文简体